MICHAEL PADERA
Home
About
RCHS
Production 1
Production 1 Year 2
STEM 1
Stem 2
Contacts
First Semester
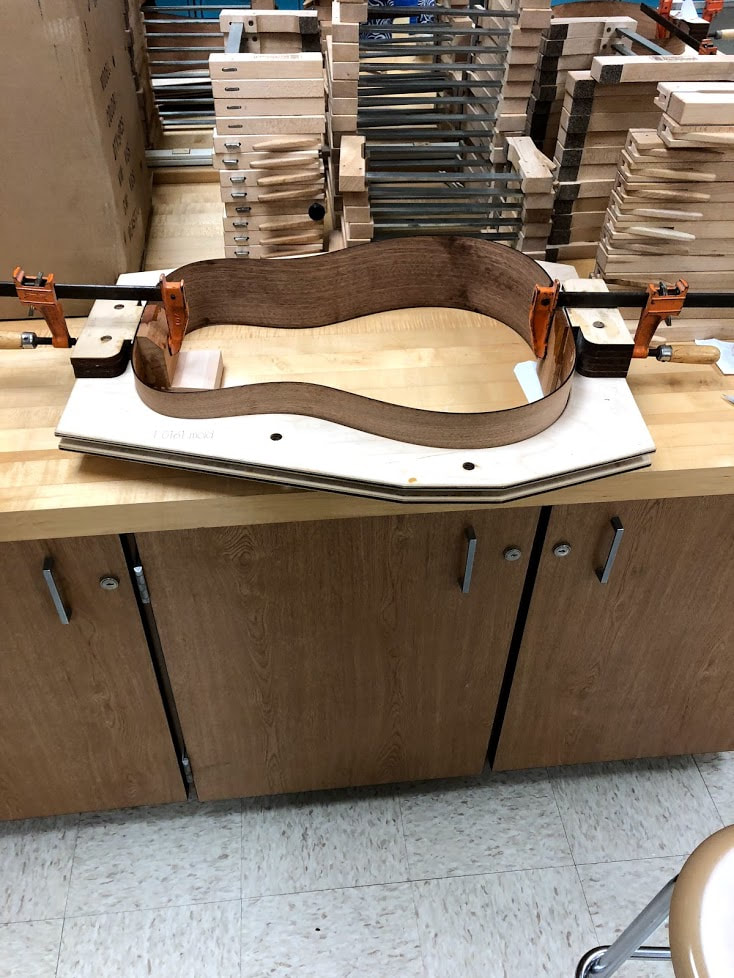
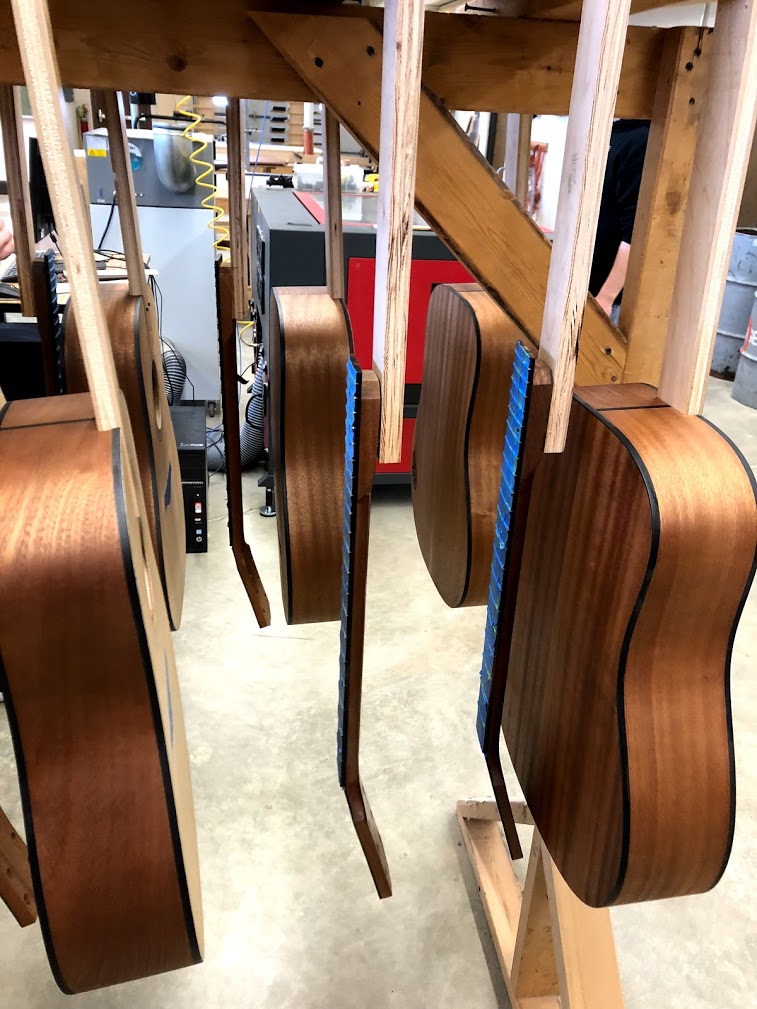
This is the start of the guitar sidings.
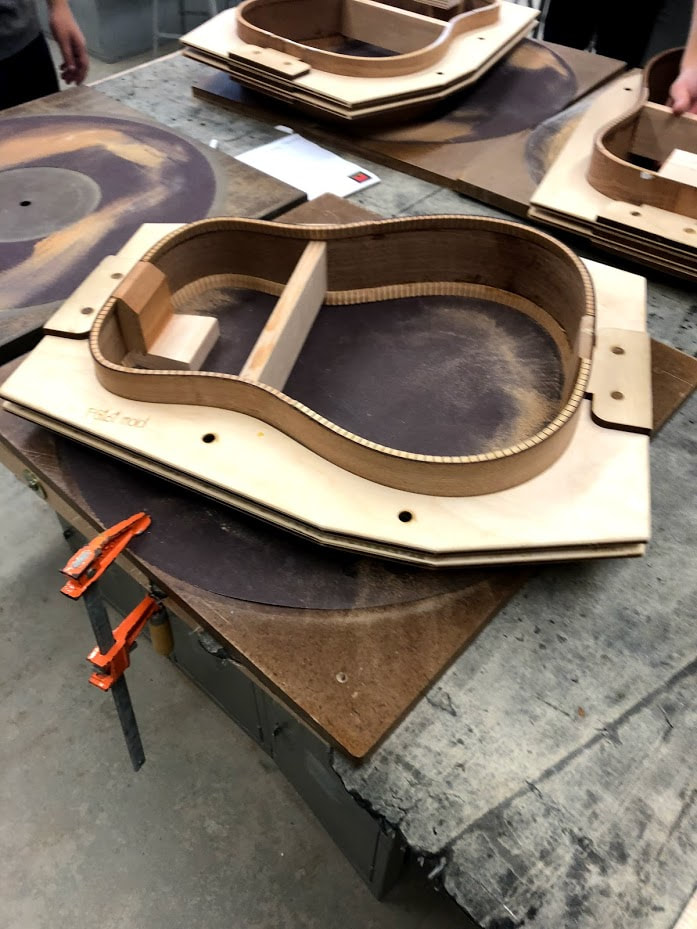
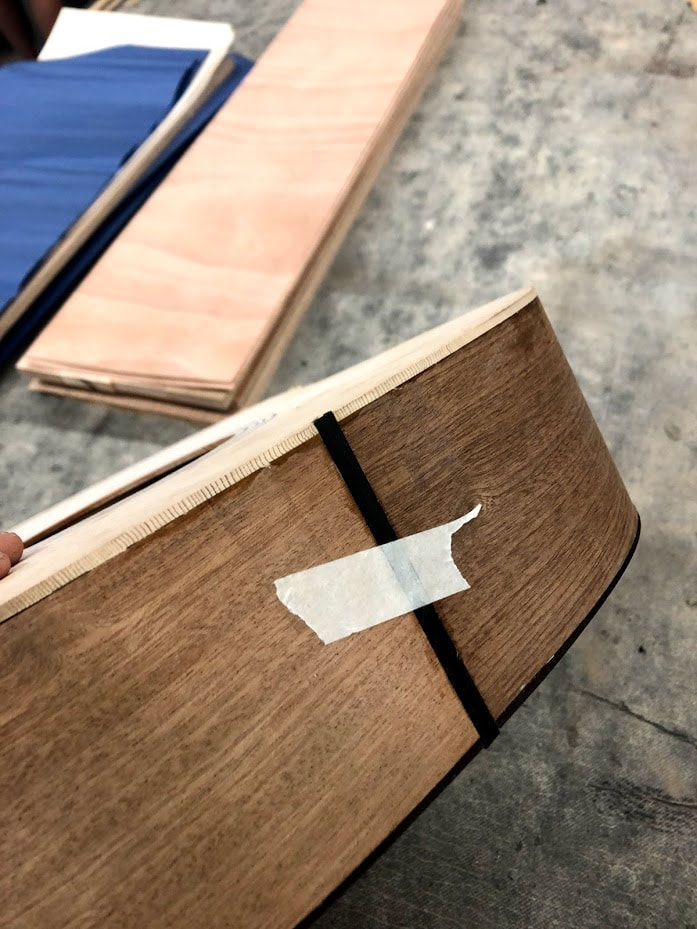
Applying of the kerfing.
Process of making the guitar sides flush.
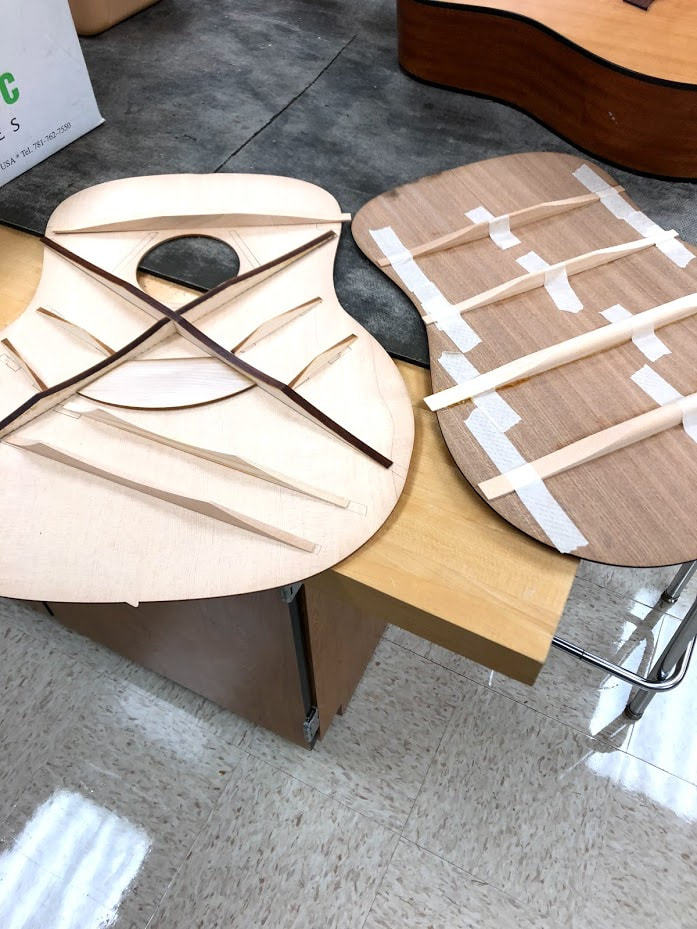
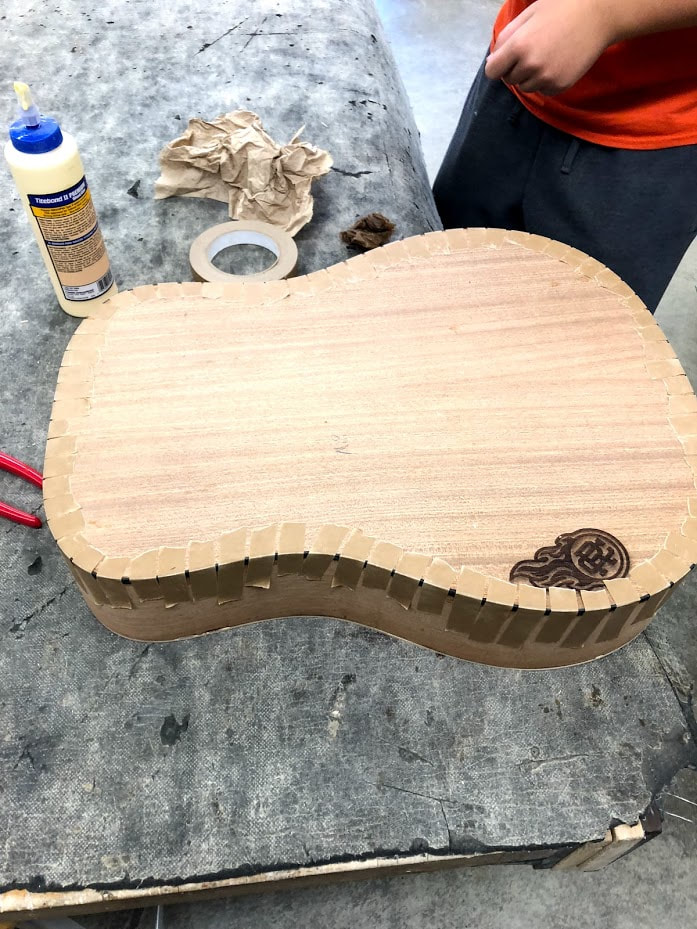
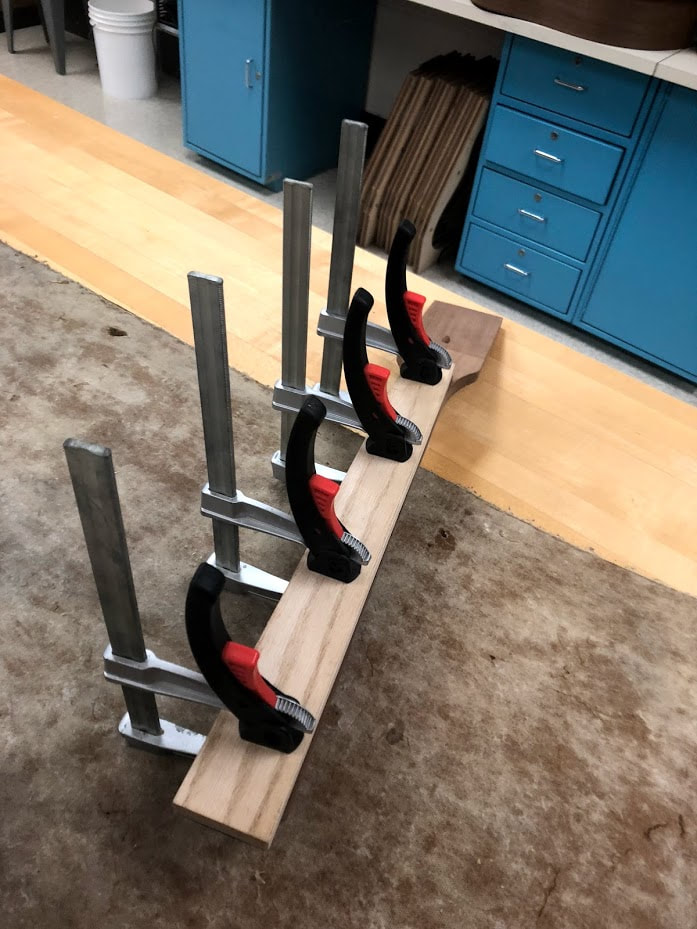
Putting on the pieces for the front and back.
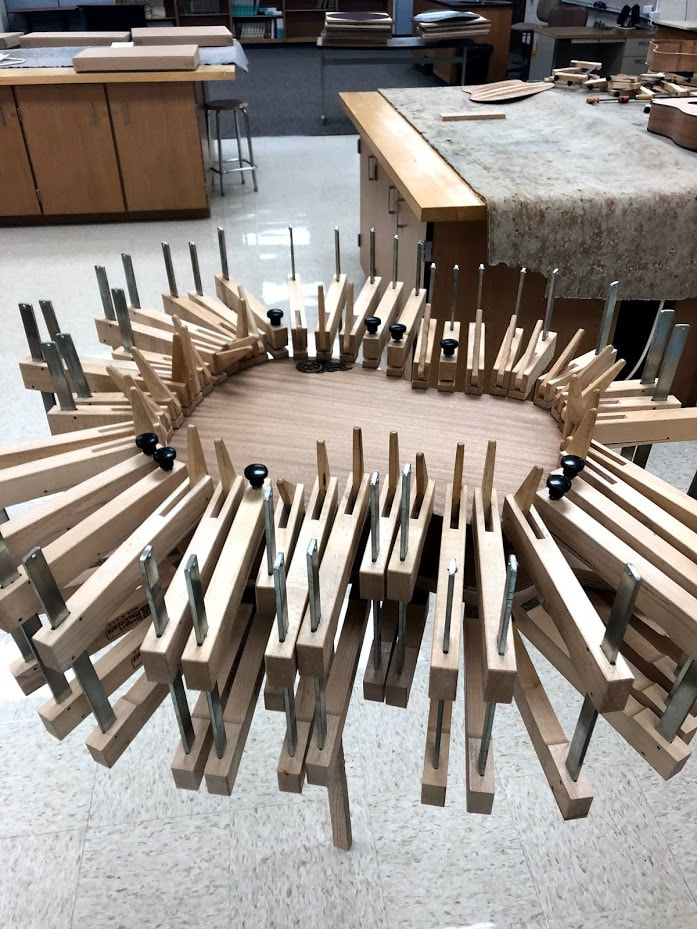
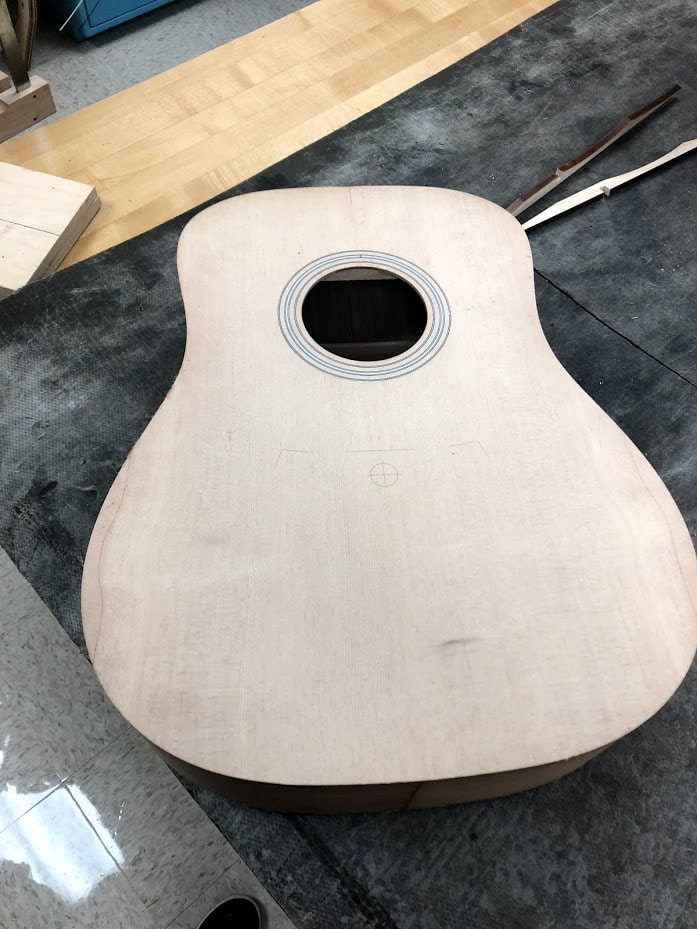
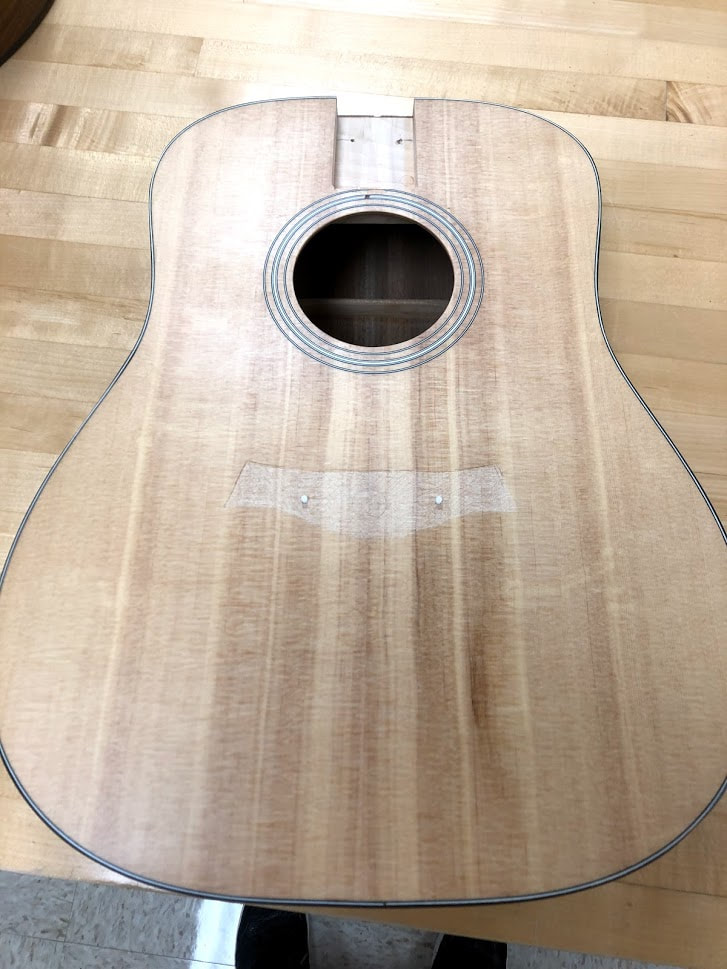
The front after being glued on.
Process of gluing on the back.
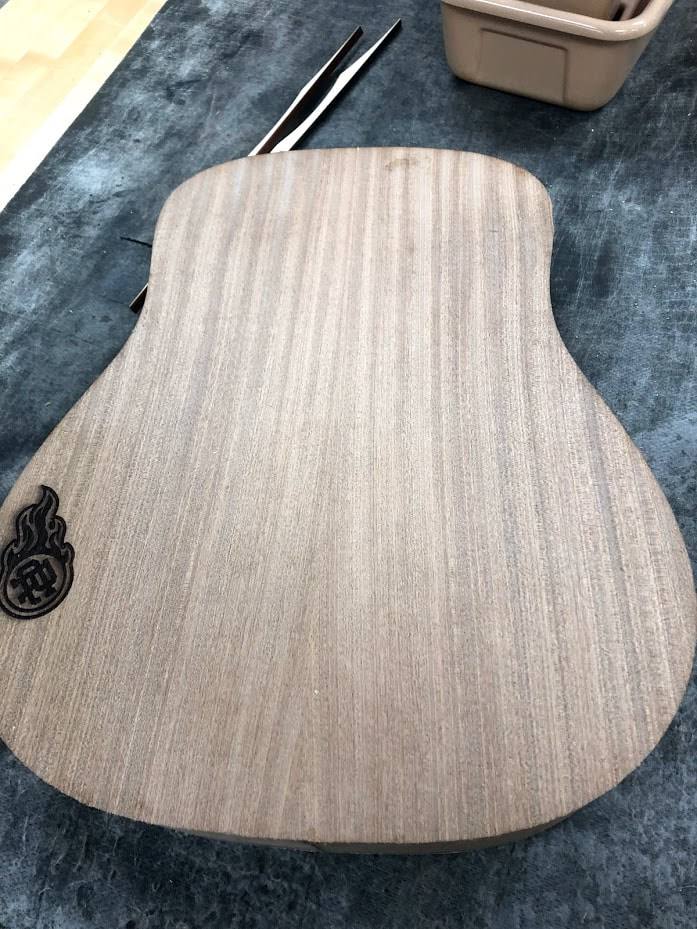
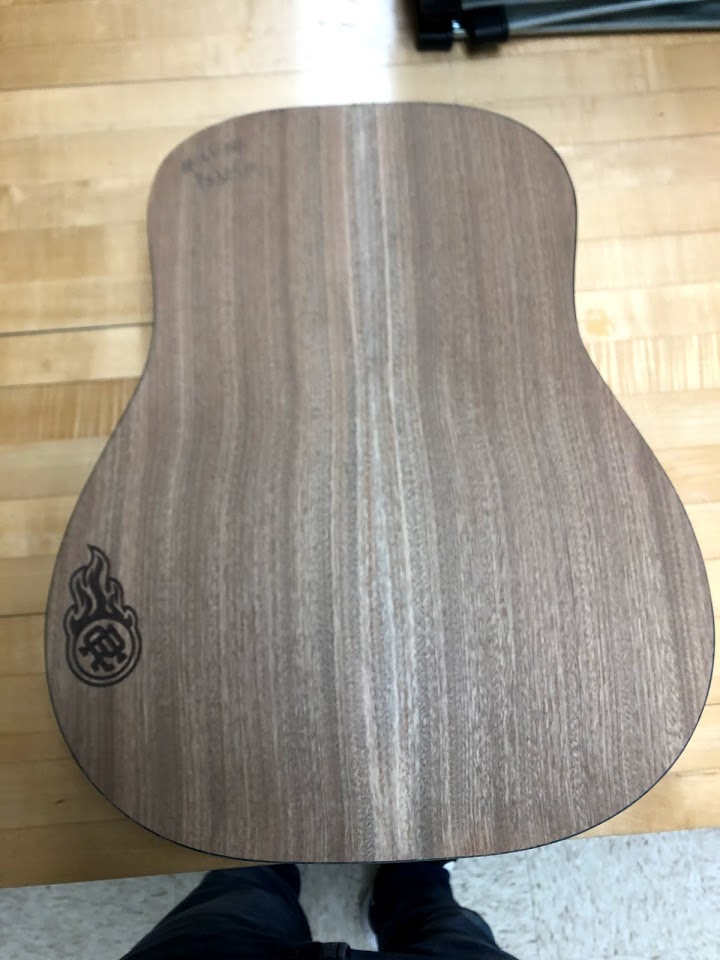
The back after gluing.
The front after gluing.
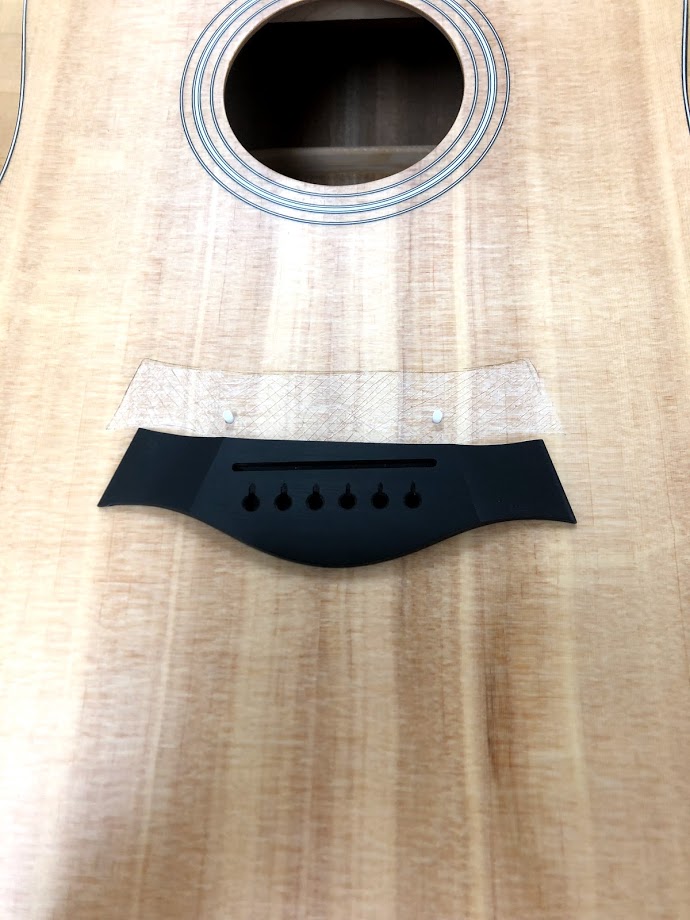
Adding the bridge piece to hide connection lines.
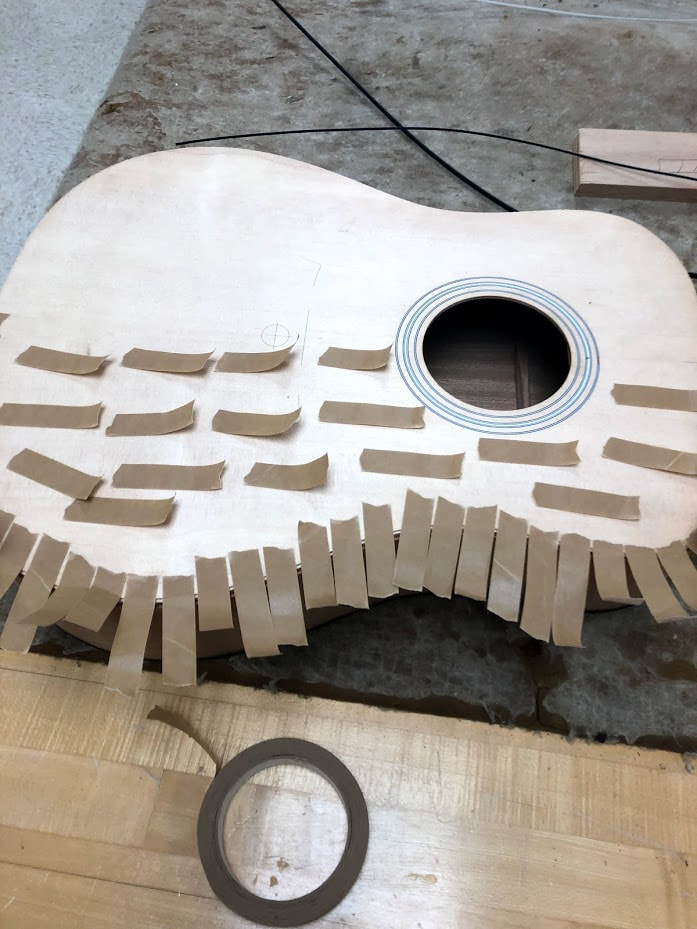
Applying the siding on the guitar back.
Applying the siding on the front of the guitar.
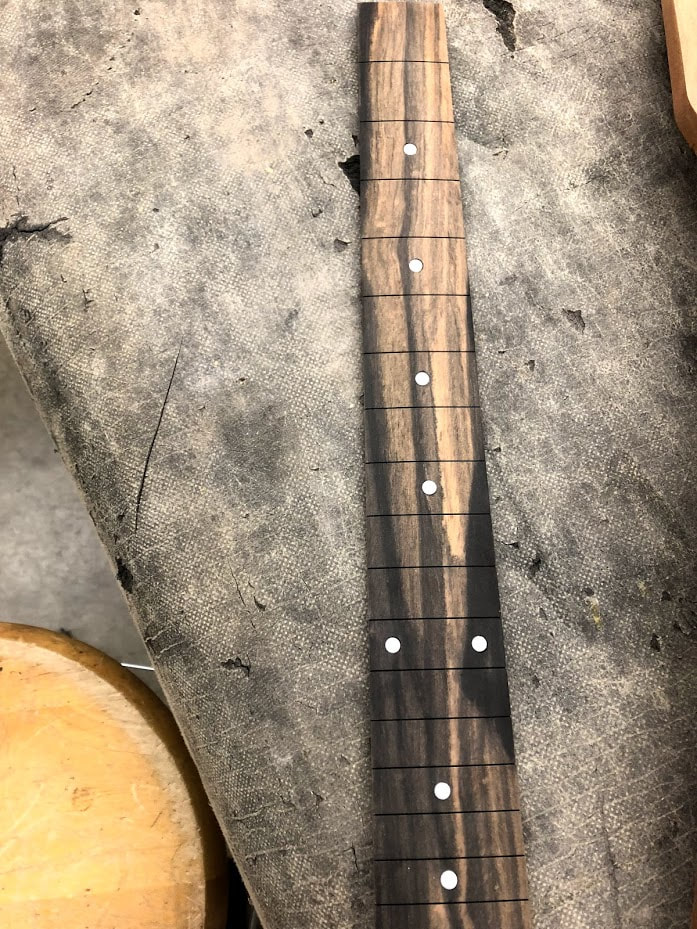
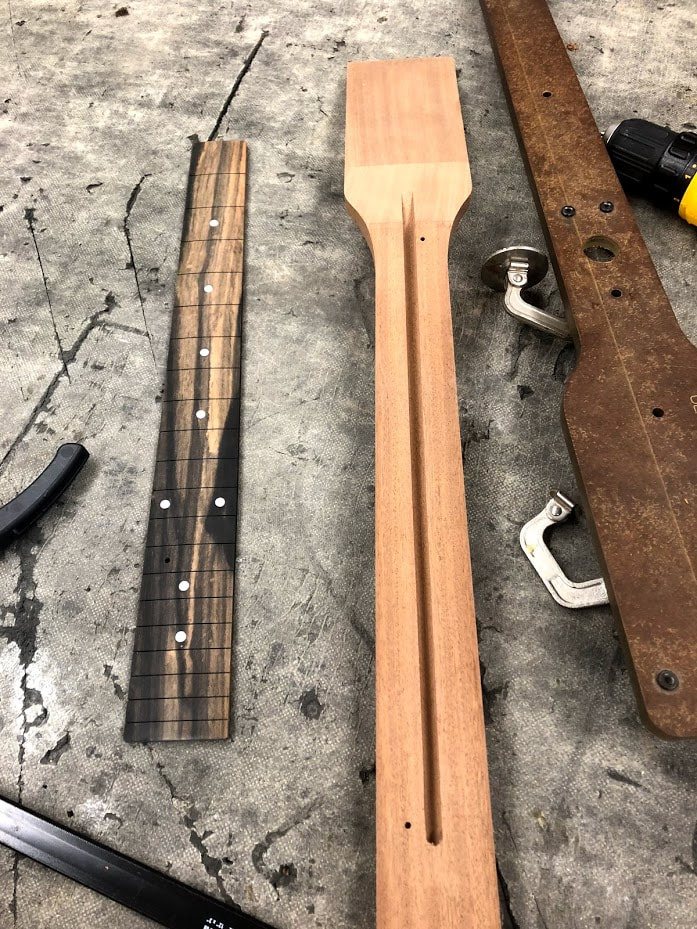
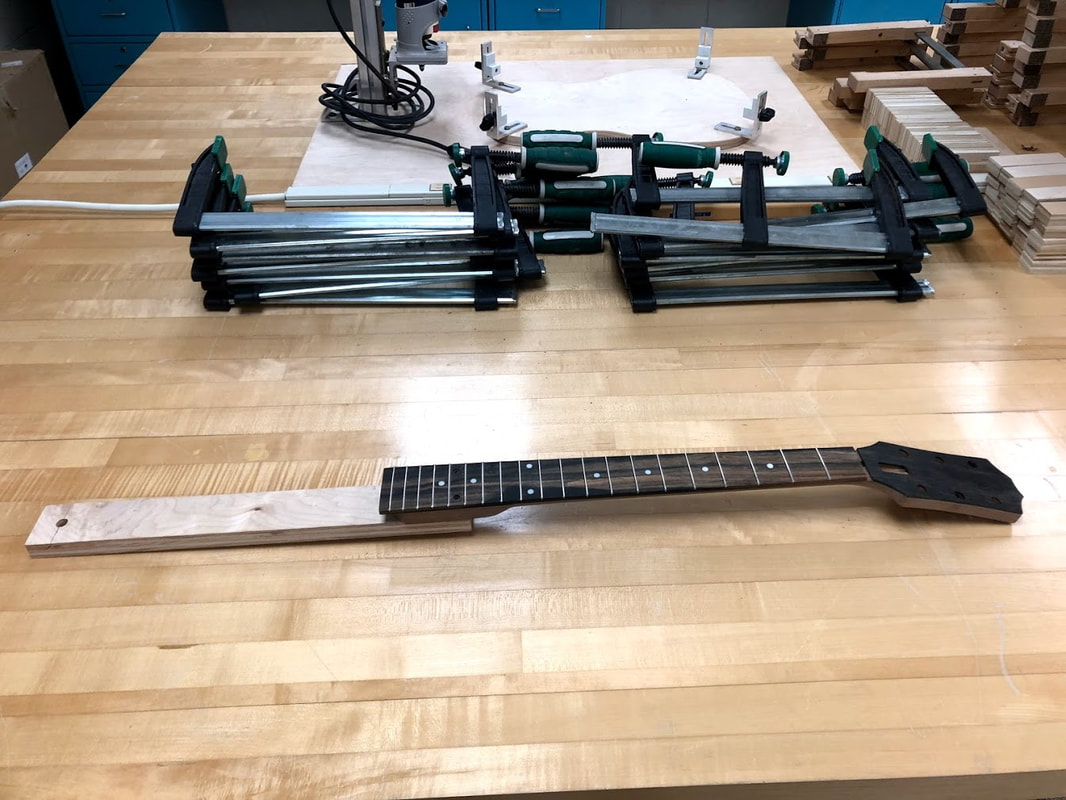
Completed fret board.
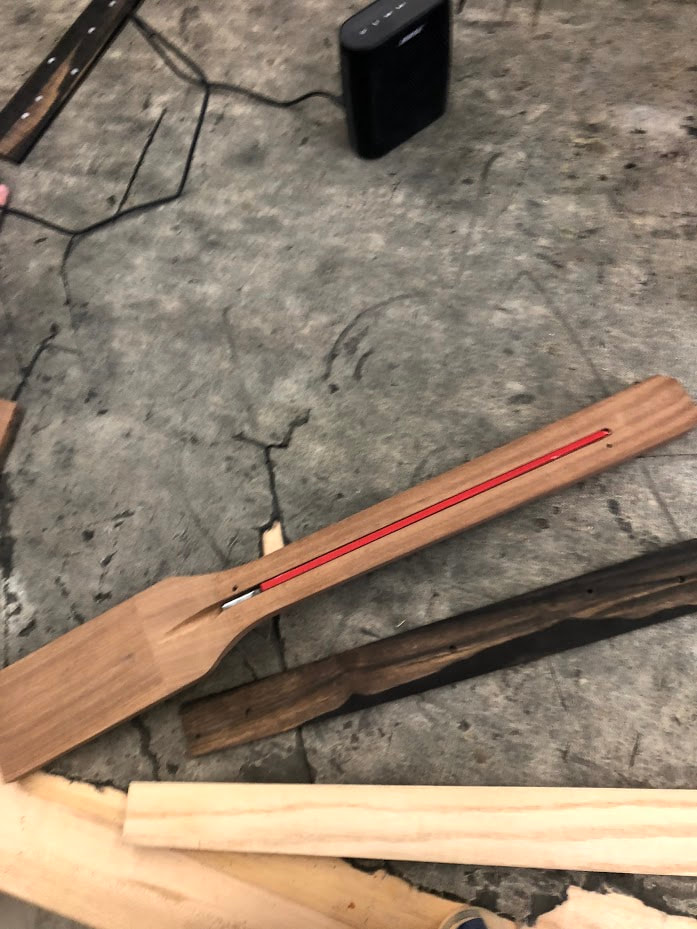
Trust rod line drilled
Truss rod installed.
gluing on the fret board to the neck.
Second Semester
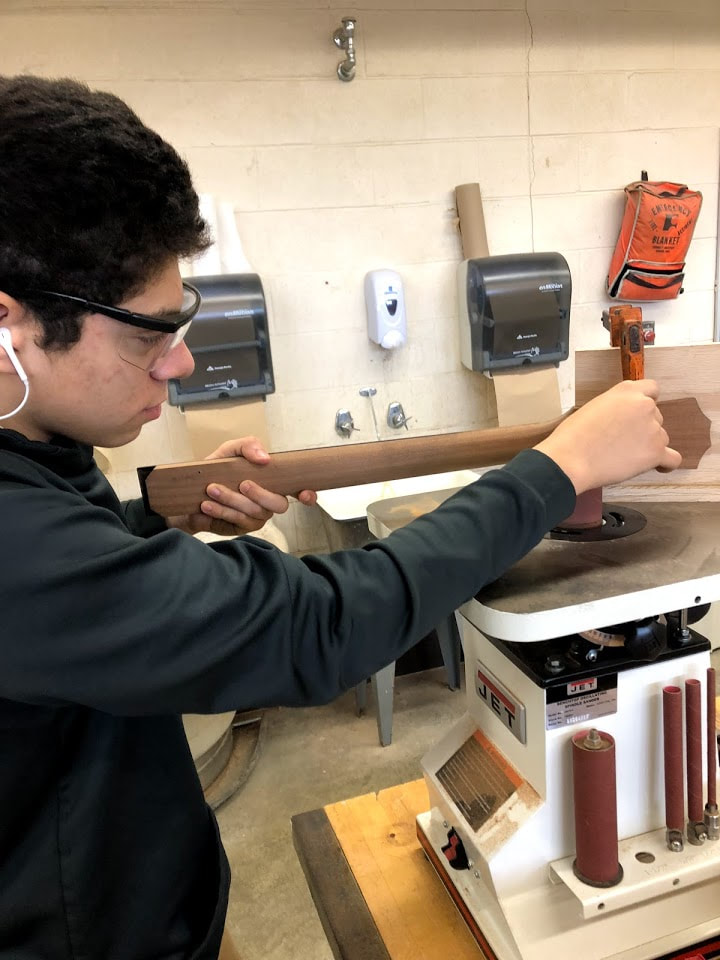
Using the spindling sander to smooth the neck.
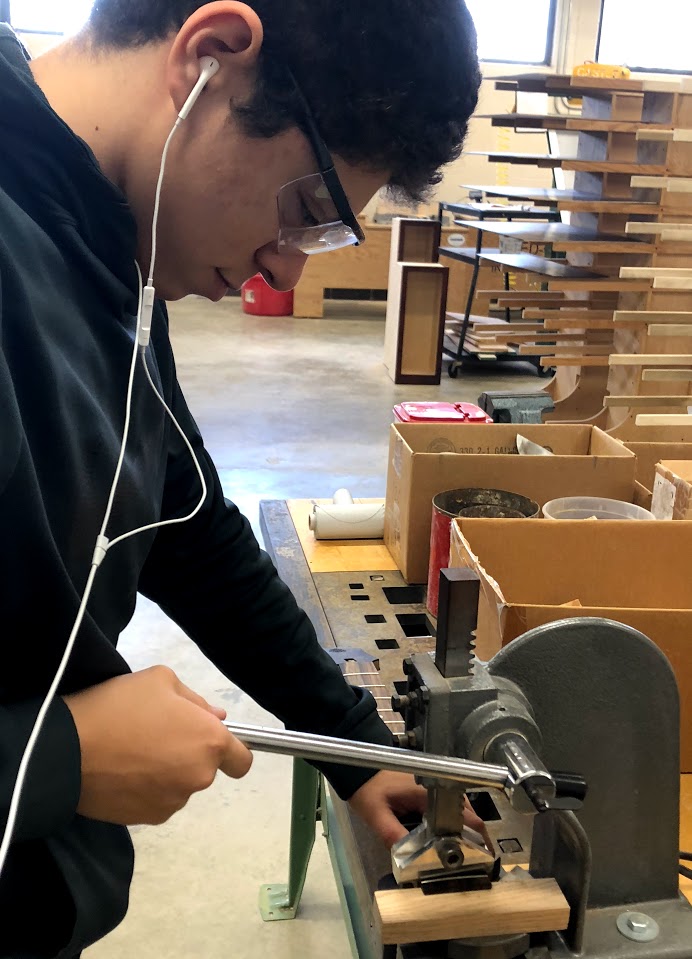
I am clamping the frets into the fret board.
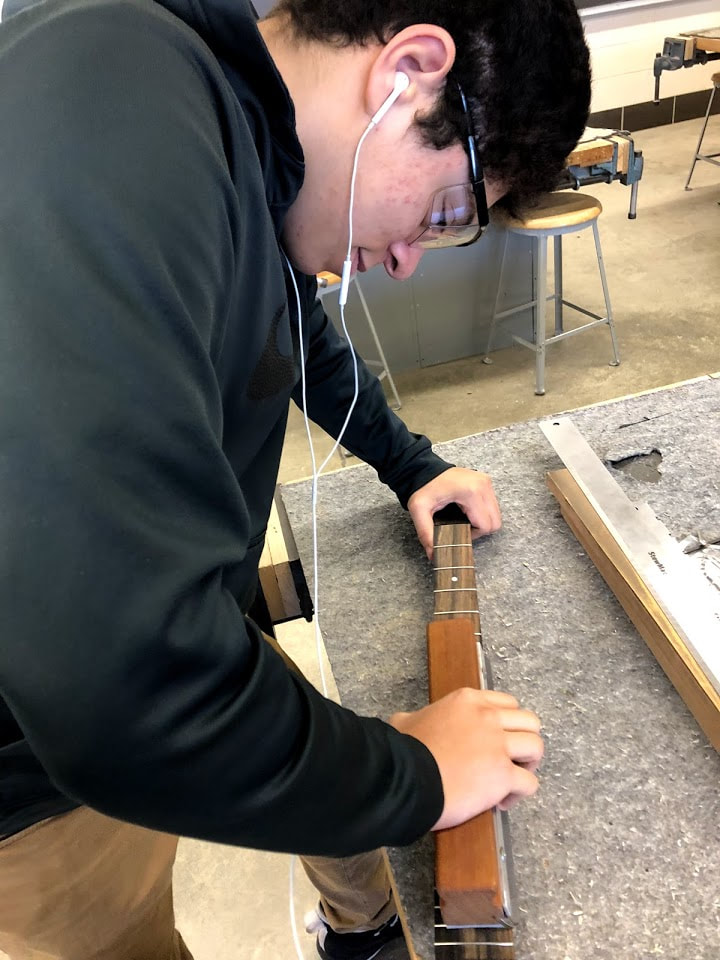
I am filing my fret too smooth the corners.
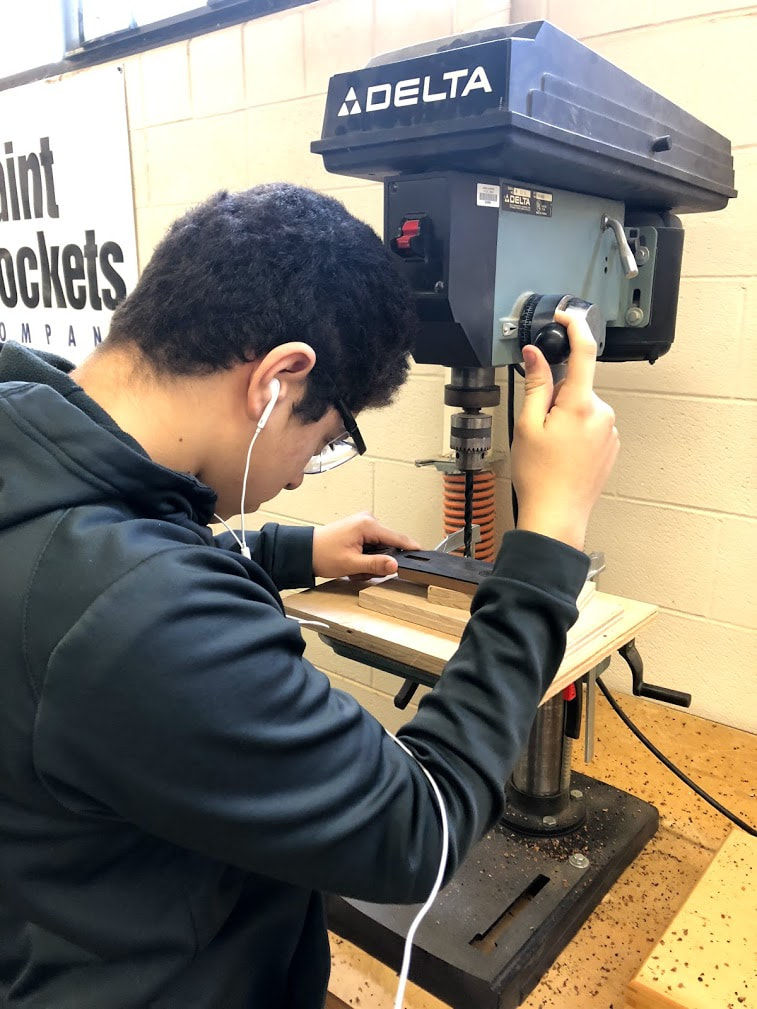
I am drilling the holes for the tuner heads.
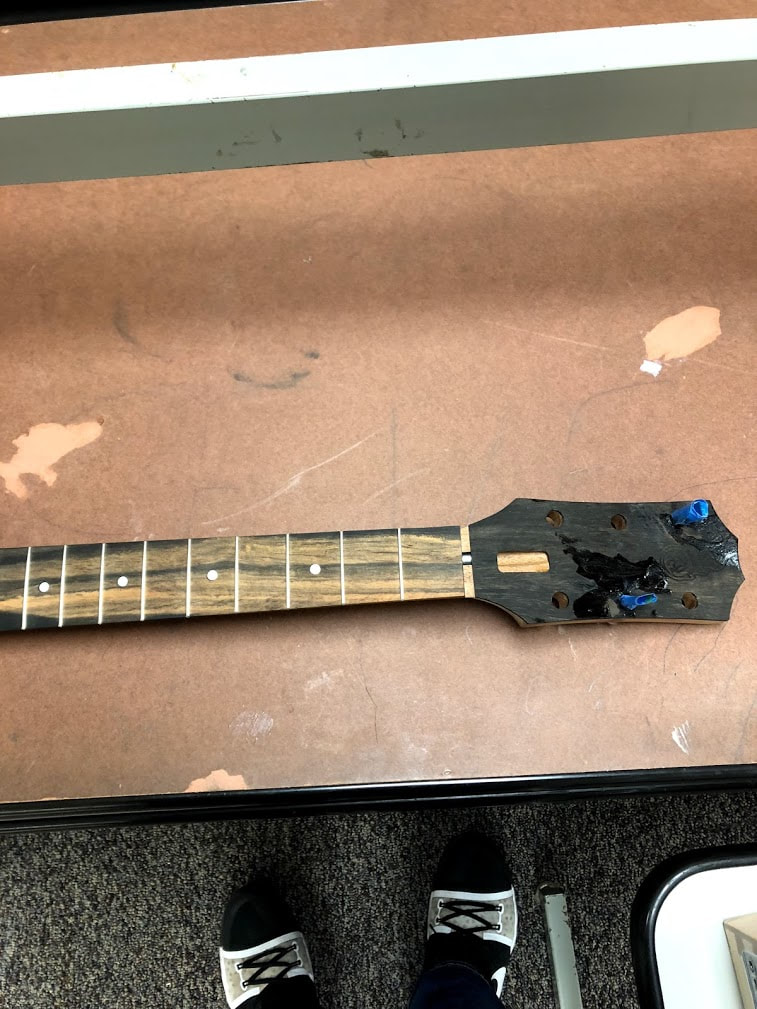
I used adhesive to fix the cracks in my neck.
First sand on front face.
First sand on back face.
Neck handle screwed on.
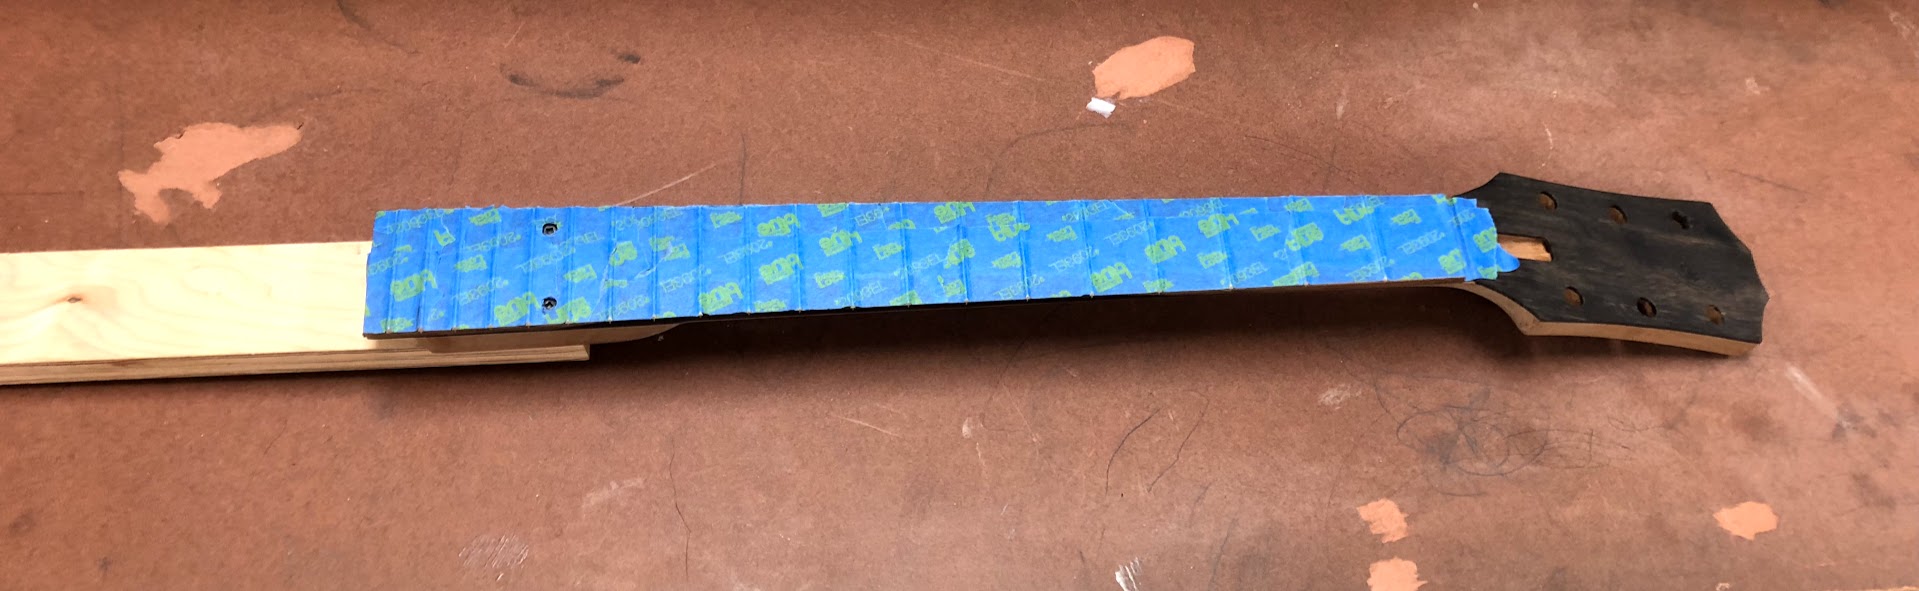
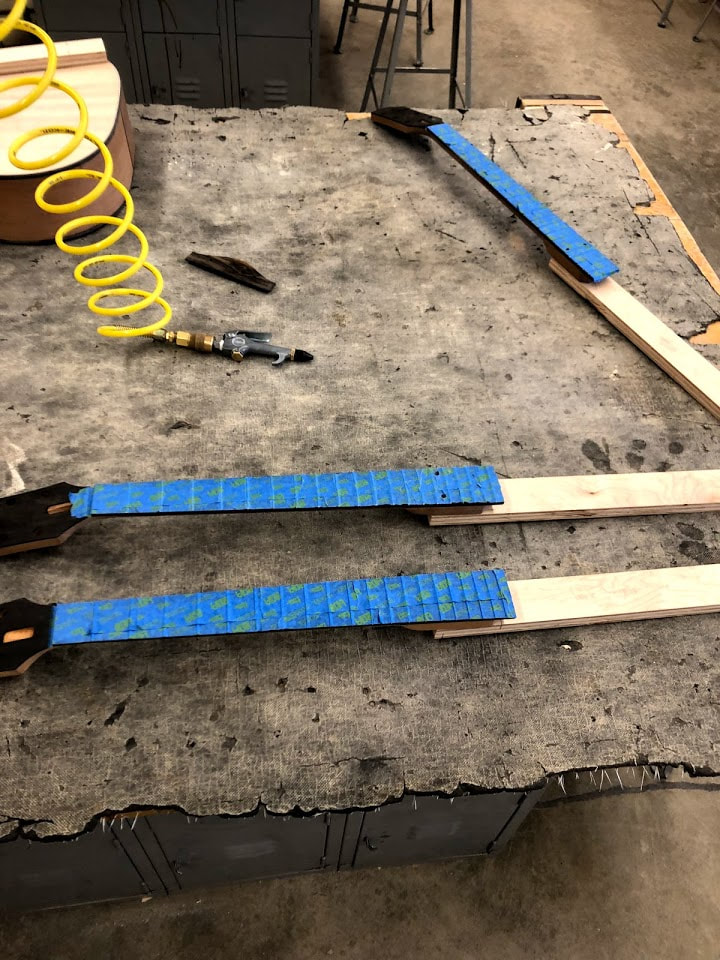
Tape creased into frets for finish.
First coat on guitar neck.
First coat on guitar body.
The final coat of finish is put on the body.
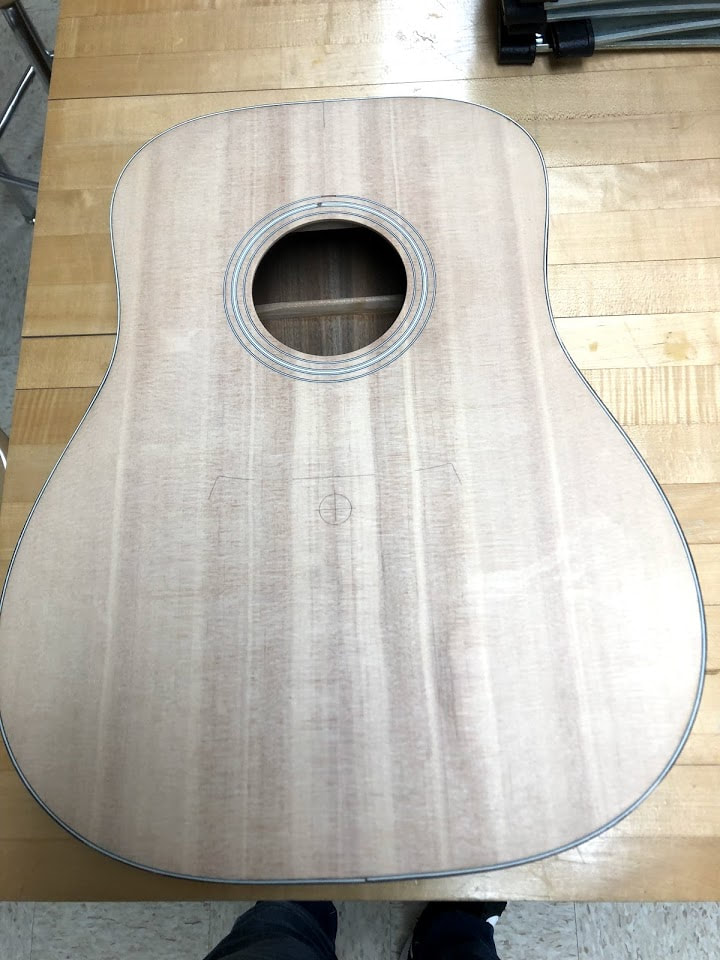
Getting prepared to apply the bridge.
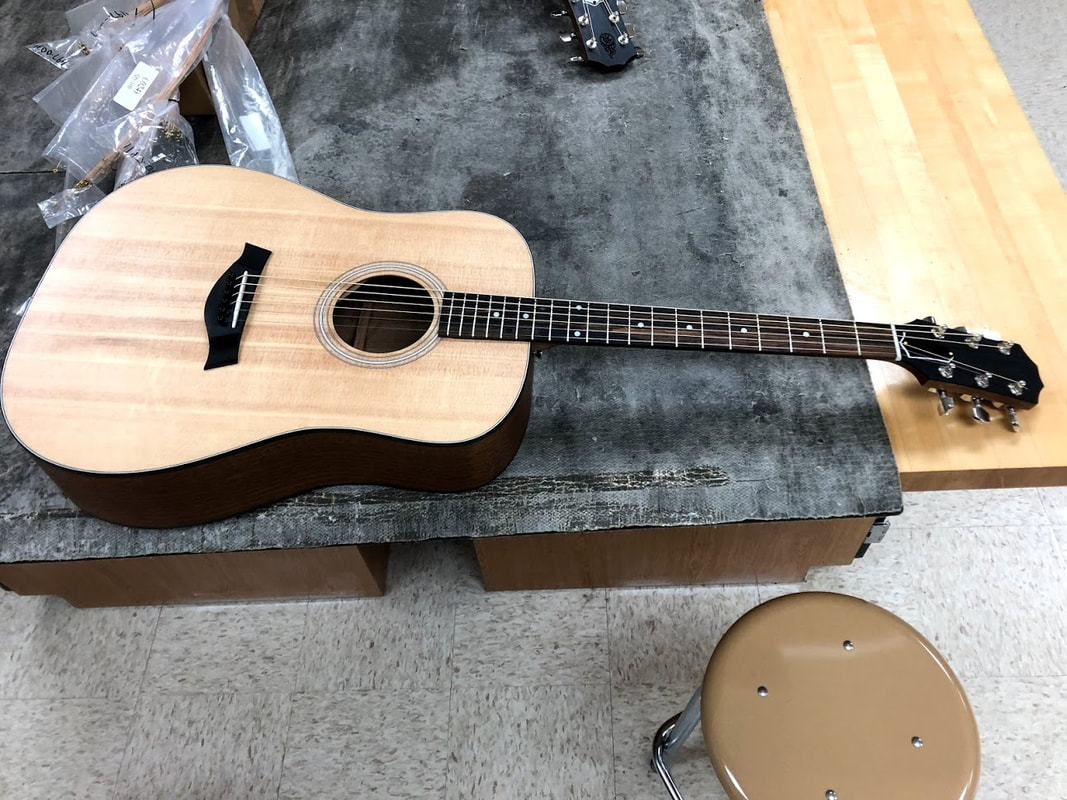
String are tightened and tuned
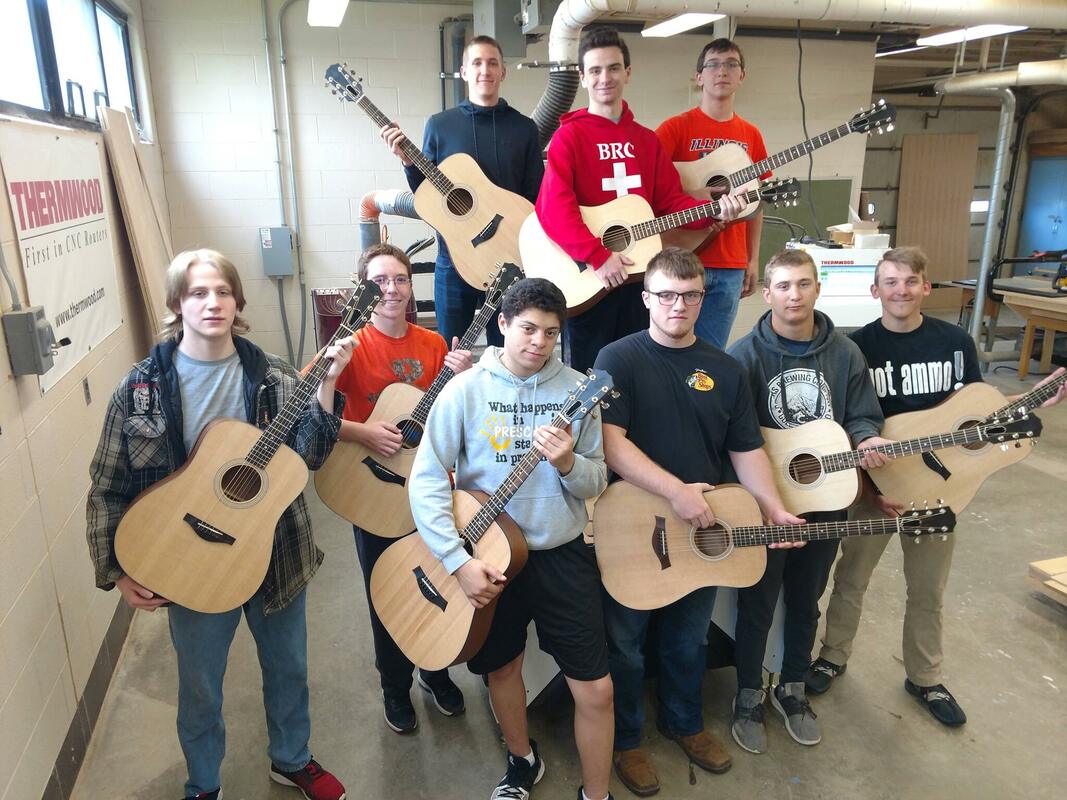
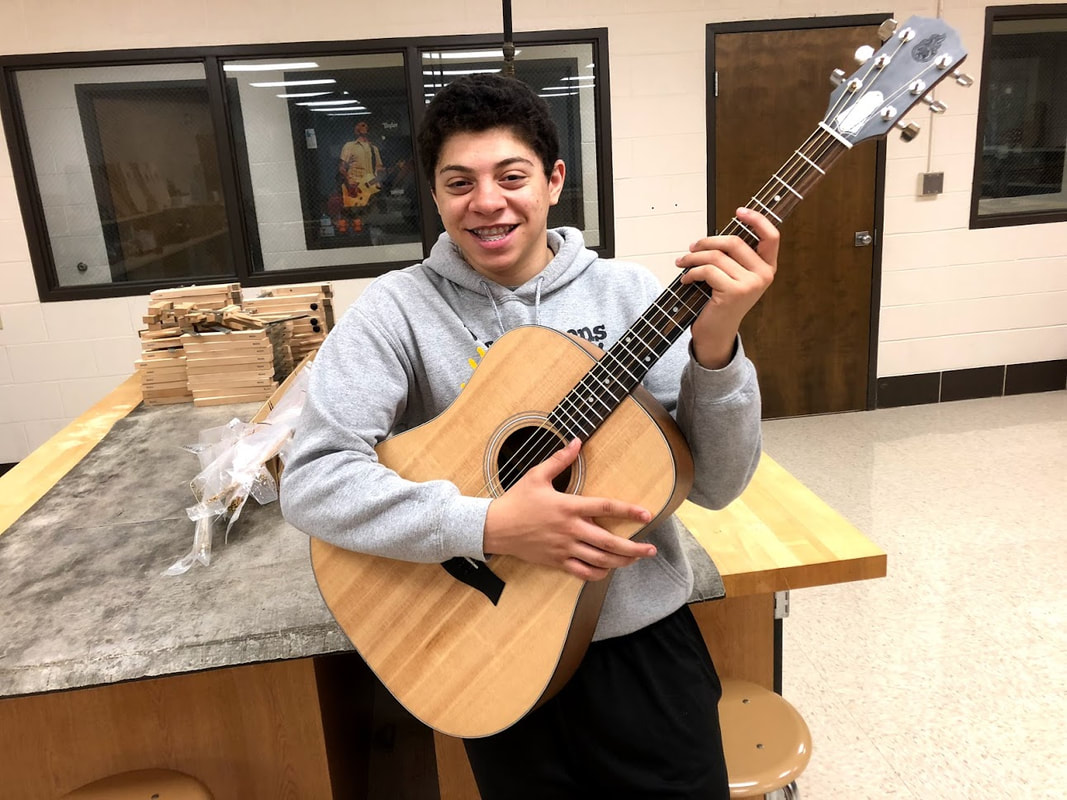
Me with my finished guitar
Home
About
RCHS
Production 1
Production 1 Year 2
STEM 1
Stem 2
Contacts